- Scissors
- About a yard of fabric (I used an old dress and two thrift-shop sheets)
- Felt
- Buttons
- Glue gun & glue sticks
Instructions:
Rip 26 strips of your chosen fabric, each approximately 18 inches long and 1 3/4 inches wide. Ripping the fabric gives it a chippy-chic look and speeds up the process.
Fold each fabric strip in half lengthwise and glue the edges together. You can choose to have the rough edges touching for a textured look or use the smoother side if preferred. Then, use scissors to cut slits close to the edge along the folded side.
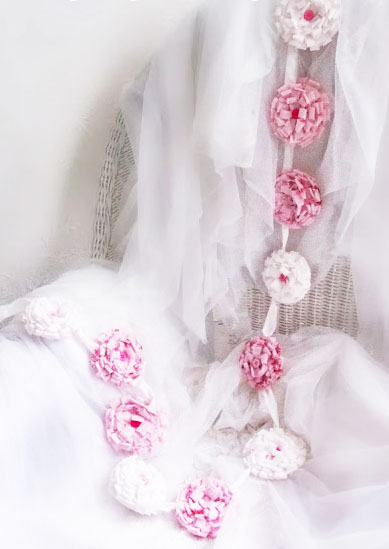
Cut out a felt circle about 2 inches in diameter. Start gluing the fabric strips onto the felt circle, with the rough edge or smooth side facing outward. Continue gluing the fabric strips around the felt circle until it's fully covered. Finish by gluing a button or any other decorative element in the center.
Finally, cut a strip of fabric about 5 feet long and 1 3/4 inches wide. Starting from one end of the strip (you can optionally create a loop at the end for hanging, depending on its intended use), glue two fabric flowers back to back with the strip of fabric sandwiched between them. Continue attaching the flowers along the strip until you reach the end.
Note: You can adjust the size of the fabric strips and the felt circle according to your preference. Feel free to mix and match fabrics or switch to different materials halfway around the felt circle for a more diverse look. Keep in mind that the finished piece contains small parts and is not suitable for use or play by small children or pets.
%20copy.jpg)


